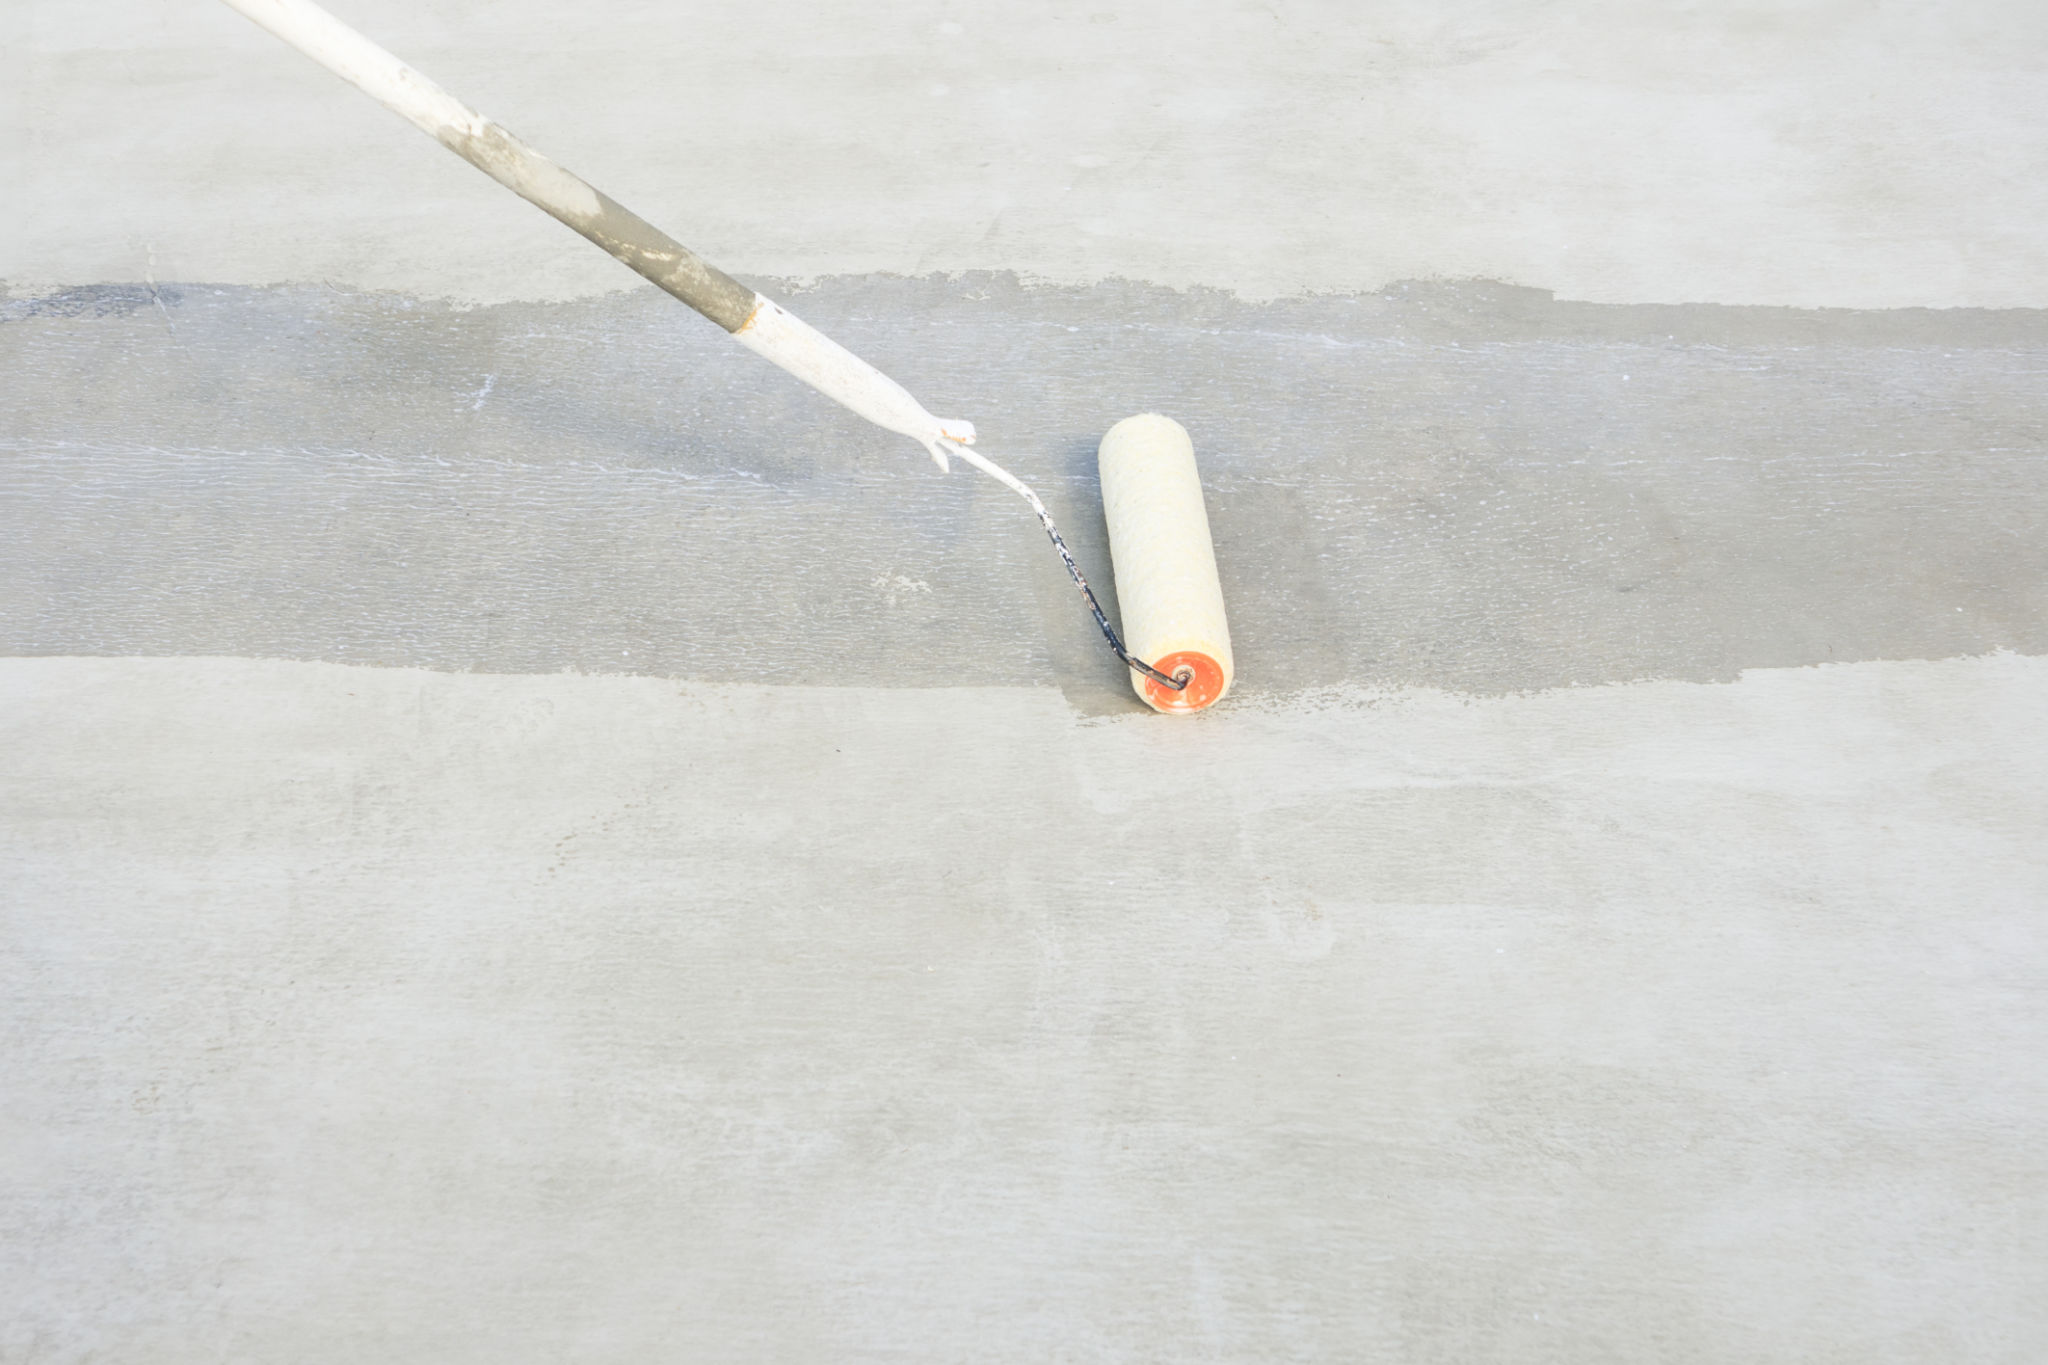
The Process of Installing Resin Bound Surfaces: A Step-by-Step Guide
Resin bound surfaces have become increasingly popular due to their durability, aesthetic appeal, and low maintenance requirements. Whether you're considering installing a resin driveway, patio, or garden path, understanding the process can help ensure a successful project. In this guide, we'll walk you through the step-by-step process of installing resin bound surfaces.
Preparation and Planning
The first step in any successful installation is thorough preparation and planning. Start by assessing the area where you plan to install the resin surface. Measure the space accurately to determine the amount of materials needed. It's also crucial to check for any drainage issues that may need addressing before installation.
Next, choose the right type of resin and aggregate for your project. The choice of materials will depend on factors such as desired color, texture, and load-bearing requirements. Consulting with a professional can help you make informed decisions.

Excavation and Base Installation
The foundation of your resin bound surface is critical for its longevity and performance. Begin by excavating the area to the required depth. This typically involves removing existing surfaces like concrete or paving slabs to create a stable base.
Once excavation is complete, install a sub-base layer. This usually consists of compacted crushed stone or gravel, providing a solid foundation for the resin surface. Ensure the sub-base is level and properly compacted to prevent future settling or cracking.
Edging and Formwork
Before applying the resin mixture, it's important to install edging or formwork around the perimeter of the area. This helps contain the resin and aggregate, ensuring a clean, defined edge. Common edging materials include steel, aluminum, or treated timber.
Ensure that the edging is securely fixed and at the correct height to accommodate the thickness of the resin bound surface. This step is crucial for achieving a professional finish and preventing any unwanted spreading during installation.

Mixing and Laying the Resin
With the base prepared and edging in place, it's time to mix and lay the resin. The mixing process involves combining a two-part resin with selected aggregates in a forced action mixer. This ensures an even distribution of resin throughout the aggregate.
Once mixed, promptly spread the resin mixture across the prepared base using a trowel or squeegee. Work systematically to ensure an even thickness and smooth finish. It's important to work quickly as the resin begins to cure shortly after mixing.
Finishing Touches and Curing
After laying the resin, use a trowel to smooth out any imperfections and achieve a uniform finish. Pay special attention to edges and joints for a seamless appearance. A skilled installer can add anti-slip features if required by broadcasting fine aggregate over the surface.
The curing process is vital for achieving a durable finish. Allow the surface to cure undisturbed for at least 24 hours, depending on weather conditions. During this time, avoid walking on or placing any objects on the surface.

Maintenance Tips
Once installed, resin bound surfaces require minimal maintenance to keep them looking their best. Regularly sweep away debris such as leaves and dirt to prevent staining or moss growth. For deeper cleaning, a gentle jet wash can remove stubborn grime without damaging the surface.
It's also advisable to address any cracks or damage promptly to prevent further deterioration. Periodic inspections can help identify potential issues early on, ensuring your resin bound surface remains in top condition for years to come.
By following these steps and ensuring proper installation practices, you can enjoy the benefits of a beautiful and long-lasting resin bound surface. Whether it's enhancing curb appeal or creating functional outdoor spaces, resin surfaces offer versatility and style for any property.
